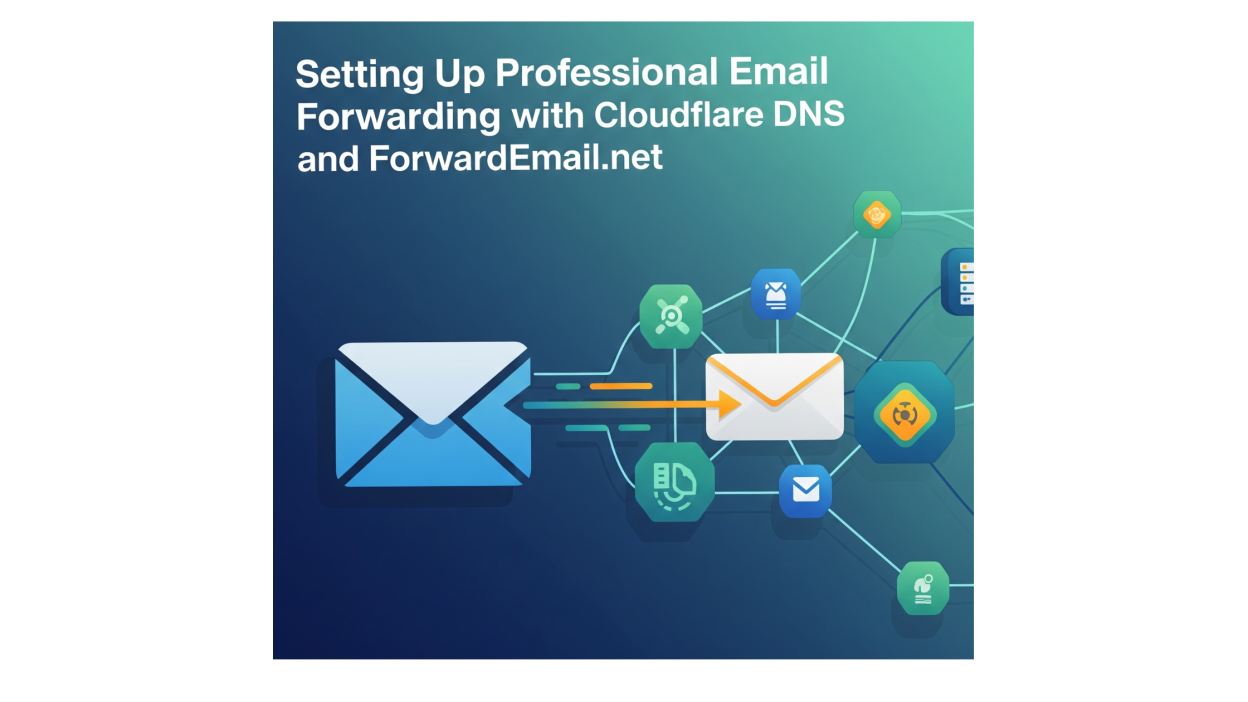
Email forwarding allows you to use a custom domain email address (e.g., [email protected]) and redirect incoming emails to an existing email account, such as a Gmail or Outlook inbox. This guide walks you through setting up email forwarding using Cloudflare DNS and ForwardEmail.net, a free and privacy-focused email forwarding service. By combining Cloudflare’s DNS management with ForwardEmail.net’s forwarding and SMTP capabilities, you can create professional email addresses without needing a full email hosting service.
Prerequisites
Before you begin, ensure you have:
- A domain registered and managed through Cloudflare or pointed to Cloudflare’s nameservers.
- A free account with ForwardEmail.net.
- Access to an existing email inbox (e.g., Gmail, Outlook) where forwarded emails will be sent.
Step-by-Step Guide
Step 1: Set Up Your Domain with Cloudflare
- Log in to Cloudflare: Go to dash.cloudflare.com and sign in.
- Add Your Domain: If your domain isn’t already added, select “Add a site” from the Cloudflare dashboard and enter your domain name (e.g., yourdomain.com).
- Update Nameservers: Cloudflare will provide nameservers (e.g., alfa.ns.cloudflare.com and bravo.ns.cloudflare.com). Update your domain’s nameservers at your registrar (e.g., Name¾
System: Namecheap, GoDaddy) to point to Cloudflare’s nameservers. This process may take up to 24–48 hours to propagate. - Verify DNS Propagation: Once propagation is complete, your domain will appear as “Active” in the Cloudflare dashboard.
Step 2: Configure DNS Records for ForwardEmail.net
ForwardEmail.net requires specific DNS records to handle email forwarding. You’ll add MX and TXT records in Cloudflare to route emails to ForwardEmail.net’s servers.
- Access DNS Settings:
- In the Cloudflare dashboard, select your domain.
- Navigate to DNS > Records.
- Remove Existing MX Records:
- If your domain has existing MX records (e.g., from another email provider like Google Workspace), delete them to avoid conflicts. Click “Edit” next to each MX record and select “Delete.”
- Add MX Records:
- Click Add Record and select MX from the Type dropdown.
- For the first MX record:
- Name: Enter
@(indicating the root domain). - Mail server: Enter
mx1.forwardemail.net. - Priority: Set to
10. - TTL: Set to
Auto. - Click Save.
- Name: Enter
- Add a second MX record:
- Name: Enter
@. - Mail server: Enter
mx2.forwardemail.net. - Priority: Set to
20. - TTL: Set to
Auto. - Click Save.
- Name: Enter
- Add TXT Record for SPF:
- Click Add Record and select TXT from the Type dropdown.
- Name: Enter
@. - Content: Enter
v=spf1 a mx include:spf.forwardemail.net -all. - TTL: Set to
Auto. - Click Save.
- This SPF record helps verify that ForwardEmail.net is authorized to send emails on behalf of your domain, reducing the chance of emails being marked as spam.
- Optional: Add DMARC Record:
- To improve email deliverability and security, add a DMARC record:
- Click Add Record and select TXT.
- Name: Enter
_dmarc. - Content: Enter
v=DMARC1; p=none; rua=mailto:[email protected];. - TTL: Set to
Auto. - Click Save.
- Note: Replace
[email protected]with an email address you control to receive DMARC reports.
- To improve email deliverability and security, add a DMARC record:
Step 3: Set Up Forwarding Rules on ForwardEmail.net
- Sign Up or Log In: Go to forwardemail.net and create a free account or log in.
- Add Your Domain:
- Navigate to My Account > Domains.
- Click Add Domain and enter your domain name (e.g., yourdomain.com).
- Verify DNS Records:
- ForwardEmail.net will check for the MX and TXT records you added in Cloudflare.
- If the records are correctly configured, the domain status will update to “Active” once DNS propagation is complete (this may take up to 48 hours, but often happens within minutes).
- Create Email Aliases:
- Go to My Account > Domains > Aliases.
- Click Add Alias.
- Enter the custom email address (e.g.,
[email protected]) and the destination email address (e.g.,[email protected]). - Save the alias. You can add multiple aliases to forward to different destination emails.
- Optional: Enable Catch-All:
- To forward all emails sent to any address at your domain (e.g.,
*@yourdomain.com), enable the catch-all option in the alias settings. Be cautious, as this may increase spam. - To avoid spam, you can create specific rules to drop emails sent to common spam targets like
[email protected].
- To forward all emails sent to any address at your domain (e.g.,
Step 4: Set Up Sending Emails via ForwardEmail.net SMTP
ForwardEmail.net provides an SMTP service to send emails from your custom domain (e.g., [email protected]). Follow these steps to configure it:
- Access SMTP Credentials:
- In ForwardEmail.net, go to My Account > Domains.
- Select your domain and navigate to the SMTP tab.
- Generate or copy the SMTP credentials (username and password) provided for your domain.
- Configure Your Email Client:
- Open your email client (e.g., Outlook, Thunderbird, or Apple Mail).
- Add a new email account with the following SMTP settings:
- SMTP Server:
smtp.forwardemail.net - Port:
587(or465for SSL) - Encryption:
STARTTLS(orSSL/TLSif using port465) - Username: The username provided in ForwardEmail.net (e.g.,
[email protected]) - Password: The password provided in ForwardEmail.net
- SMTP Server:
- Ensure your email client is set to authenticate using the username and password.
- Verify SPF and DMARC:
- Ensure the SPF record (
v=spf1 a mx include:spf.forwardemail.net -all) is correctly set in Cloudflare to authorize ForwardEmail.net to send emails. - The DMARC record (
v=DMARC1; p=none;) should already be configured from Step 2 to avoid authentication issues.
- Ensure the SPF record (
- Test Sending Emails:
- Compose a test email in your email client using your custom email address (e.g.,
[email protected]). - Send it to a different email address and verify it arrives with the correct sender address.
- Compose a test email in your email client using your custom email address (e.g.,
Step 5: Test Your Email Forwarding
- Send a test email to your custom email address (e.g.,
[email protected]) from another email account. - Check the destination inbox (e.g.,
[email protected]) to confirm the email arrives. - If the email doesn’t arrive, verify:
- The MX and TXT records in Cloudflare are correct.
- The alias is properly configured in ForwardEmail.net.
- DNS propagation is complete (use a tool like whatsmydns.net to check).
Troubleshooting Tips
- Emails Not Forwarding: Double-check MX and TXT records in Cloudflare and ensure the alias is correctly set in ForwardEmail.net. Wait for DNS propagation if recently changed.
- Emails Marked as Spam: Verify that the SPF and DMARC records are correctly configured. Use tools like MXToolbox to diagnose issues.
- SMTP Sending Issues: Ensure the SMTP settings in your email client match ForwardEmail.net’s recommendations. Check that the SPF record includes
include:spf.forwardemail.net. - DNS Propagation Delays: Propagation can take up to 48 hours. Use a DNS checker to confirm when changes are live.
Why Use Cloudflare and ForwardEmail.net?
- Cloudflare: Provides free, reliable DNS management with automatic DNS record setup for email routing and robust security features.
- ForwardEmail.net: Offers a privacy-focused, open-source email forwarding and SMTP service that doesn’t store emails or logs, supports catch-all addresses, and is free for basic use.
- Cost-Effective: Both services are free for the features described, making this a budget-friendly solution for custom email addresses.
- Flexibility: You can forward emails to any inbox and send emails via SMTP, scaling with additional aliases or catch-all rules as needed.
Conclusion
Setting up email forwarding and sending with Cloudflare DNS and ForwardEmail.net is a straightforward process that allows you to create and use professional email addresses for free. By following the steps outlined above, you can configure your domain to forward emails to any existing inbox and send emails using ForwardEmail.net’s SMTP service. This combination of Cloudflare’s robust DNS management and ForwardEmail.net’s privacy-focused services offers a powerful, cost-effective solution for managing custom email addresses.
For more details, refer to Cloudflare’s Email Routing documentation or ForwardEmail.net’s setup guide.
Happy emailing!