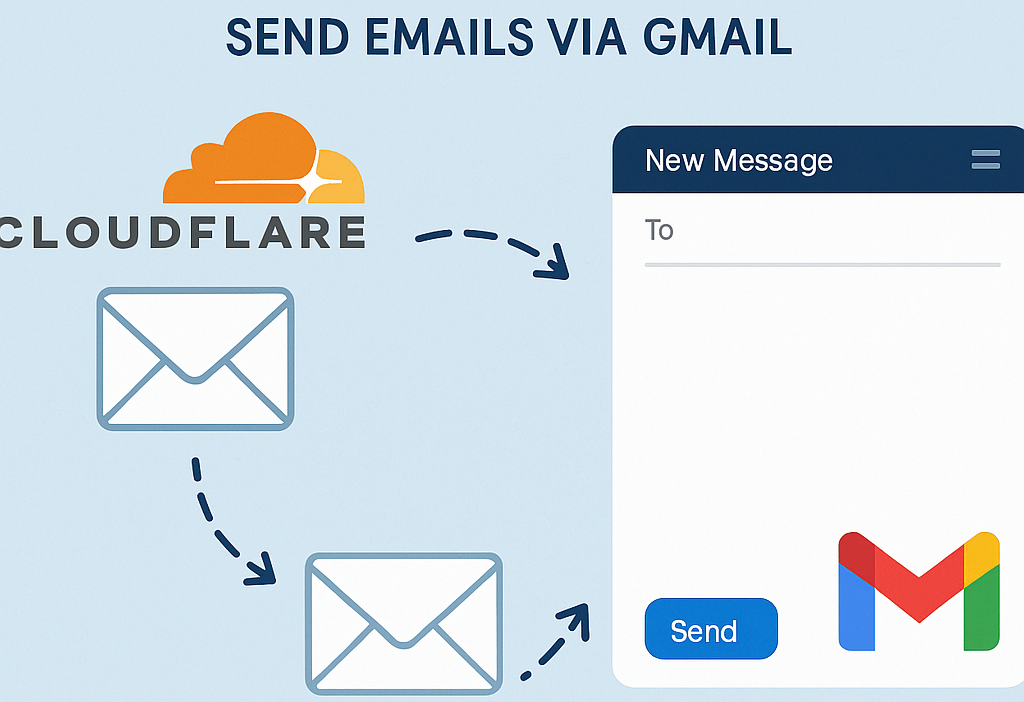
Email forwarding is a critical tool for businesses, professionals, and personal use. If you’re using Cloudflare as your DNS provider and want to set up email forwarding, along with sending emails through Gmail, this SEO-optimized guide is exactly what you need. Follow this step-by-step guide to easily set up email forwarding with Cloudflare and send emails via Gmail using your custom domain.
Step 1: How to Set Up Cloudflare DNS for Your Domain
Before enabling email forwarding in Cloudflare, you must ensure your domain is correctly configured in Cloudflare’s DNS.
Login to Your Cloudflare Account
- Visit Cloudflare and sign in.
Add Your Domain to Cloudflare
- Click on Add a Site and enter your domain (e.g.,
example.com). - Cloudflare will scan and automatically detect existing DNS records.
Update Your Domain’s Nameservers
- Cloudflare will provide new nameservers. You must update these at your domain registrar (such as GoDaddy, Namecheap, etc.).
- Replace the old nameservers with the ones provided by Cloudflare.
Allow Time for DNS Propagation
- DNS changes can take up to 48 hours to fully propagate, though typically, it happens faster.
Once your domain is set up with Cloudflare DNS, you’re ready to configure email forwarding using a third-party service like ImprovMX.
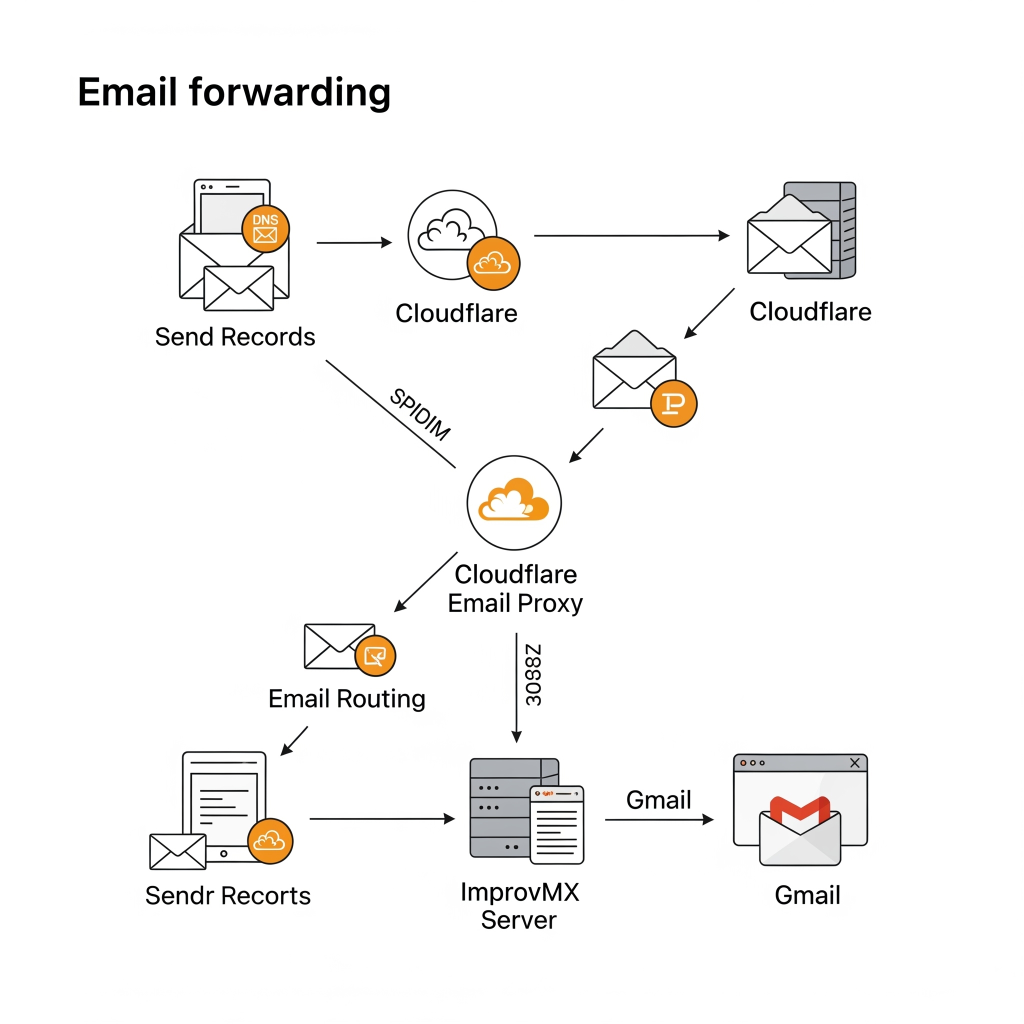
Step 2: Enabling Email Forwarding in Cloudflare
While Cloudflare doesn’t offer built-in email forwarding, you can use third-party services like ImprovMX to easily forward emails to your Gmail account.
Sign Up for ImprovMX
- Visit ImprovMX and sign up for a free account.
- Enter your domain name and follow their verification process.
Configure Cloudflare DNS Records for Email Forwarding
ImprovMX will provide you with the necessary DNS records to set up email forwarding. You’ll need to configure these records in Cloudflare:
- MX Records: Direct email traffic to ImprovMX’s servers.
- TXT Record: For domain verification (optional, but recommended for enhanced features).
To add these records in Cloudflare:
- Navigate to DNS Settings in your Cloudflare dashboard and add the following:
- MX Record:
- Name:
@ - Type:
MX - Priority:
10 - Value:
mx1.improvmx.com
- Name:
- TXT Record:
- Name:
@ - Type:
TXT - Value: The specific string ImprovMX provides.
- Name:
- MX Record:
Set Up Forwarding Rules on ImprovMX
- Return to your ImprovMX dashboard and set up email forwarding rules, such as:
- From:
[email protected] - To: Your Gmail address (
[email protected]).
- From:
Test Email Forwarding
- Send a test email to
[email protected]. If everything is configured correctly, the email will be forwarded to your Gmail inbox.
Step 3: Configuring Gmail to Send Emails Using Your Custom Domain
With email forwarding set up, the next step is configuring Gmail to send emails from your custom domain email address.
Log into Gmail
- Open Gmail and log into your account.
Navigate to Gmail Settings
- Click the gear icon in the top-right corner, then select See all settings.
Add Your Custom Email Address
- In the Accounts and Import tab, click Add another email address.
- Enter your custom email address (e.g.,
[email protected]).
Configure SMTP Settings for Sending Emails
To send emails using your custom domain email in Gmail, you’ll need to set up SMTP settings:
- SMTP Server:
smtp.gmail.com - Port:
587 - Username: Your Gmail address (
[email protected]) - Password: Your Gmail password (or App Password if you use 2FA).
- Encryption: Enable TLS.
Verify Your Custom Email Address
- Gmail will send a verification code to your custom email address, which will be forwarded to your Gmail inbox.
- Enter the verification code in Gmail to confirm your email address.
Set Custom Email as Default (Optional)
- After verifying your custom email address, you can set it as the default address for sending emails.
- Under Send mail as, select Make default.
Step 4: Testing Your Email Forwarding and Sending Setup
Now it’s time to test if both your email forwarding and sending setups are working properly.
Send an Email from Gmail Using Your Custom Domain
- Compose a new email in Gmail and select your custom domain email address in the “From” field.
- Send the email to another address to verify it’s sent correctly.
Reply to the Email
- Reply to the email from another address and ensure that the reply arrives in your Gmail inbox (via email forwarding).
Step 5: Troubleshooting Common Email Issues
Here are some common issues and troubleshooting tips if things don’t work as expected:
Email Not Forwarding?
- Double-check the MX records in your Cloudflare account. Ensure they match the settings provided by ImprovMX.
- Wait for DNS propagation to complete. It may take some time.
Problems Sending Emails via Gmail?
- Ensure the SMTP settings are configured correctly in Gmail.
- Make sure Gmail is authorized to send emails using your custom domain’s address.
DNS Propagation Delays
- DNS propagation can take up to 48 hours, so if things aren’t working right away, be patient.
Conclusion: Enable Cloudflare Email Forwarding & Send Emails with Gmail
By following these steps, you can easily set up email forwarding with Cloudflare and send professional emails from your custom domain using Gmail. This setup provides a polished email experience without the need for costly email hosting services, making it perfect for businesses and personal use.